atlassian 제품들이 설치하는 방식이 다 비슷 하다.
centos 7.x 환경기준
mysql 설치
# wget https://dev.mysql.com/get/mysql57-community-release-el7-7.noarch.rpm
# yum install -y mysql57-community-release-el7-7.noarch.rpm
# yum install -y mysql mysql-community-server mysql-server mysql-devel mysql-libs
설치 끝났으면 로그인하고
로그인 할때 안된다면
mysql 5.7 이상 설치시 root 암호
[root@localhost ~]# mysql -u root -p Enter password: ERROR 2002 (HY000): Can't connect to local MySQL server through socket '/var/lib/mysql/mysql.sock' (2) [root@localhost ~]# service mysqld restart..
algo79.tistory.com
위 참고 하고
mysql db 생성
# mysql -u root -p
CREATE DATABASE dbname CHARACTER SET utf8 COLLATE utf8_bin;
GRANT ALL PRIVILEGES ON dbname.* TO 'id'@'localhost' IDENTIFIED BY 'password';
flush privileges;
java 설치
사이트에서 jre 버전 다운 받아서 설치
# yum install -y jre-8u211-linux-x64.rpm
# alternatives --config java
There are 2 programs which provide 'java'.
Selection Command
-----------------------------------------------
1 /usr/lib/jvm/java-1.7.0-openjdk-1.7.0.75-2.5.4.2.el7_0.x86_64/jre/bin/java
*+ 2 /usr/java/jre1.8.0_211-amd64/bin/java
Enter to keep the current selection[+], or type selection number:
defult java 버전을 새로 설치한것으로 변경
jira service desk 설치
root 계정으로 설치 하면 문제가 발생 하니 사용자 계정으로 설치
user 계정 아무거나 하나 만듬
# useradd jira
최신 버전 rpm 다운
# chmod 777 atlassian-servicedesk-4.2.2-x64.bin
# chown jira:jira atlassian-servicedesk-4.2.2-x64.bin
설치
# su jira
$ ./atlassian-servicedesk-4.2.2-x64.bin
Unpacking JRE ...
Starting Installer ...
You do not have administrator rights to this machine and as such, some installation options will not be available. Are you sure you want to continue?
Yes [y, Enter], No [n] [[엔터]]
This will install JIRA Service Desk 4.2.2 on your computer.
OK [o, Enter], Cancel [c] [[엔터]]
Click Next to continue, or Cancel to exit Setup.
Choose the appropriate installation or upgrade option.
Please choose one of the following:
Express Install (use default settings) [1], Custom Install (recommended for advanced users) [2, Enter], Upgrade an existing JIRA installation [3]
[[엔터]]
Select the folder where you would like JIRA Service Desk to be installed.
Where should JIRA Service Desk be installed?
[/home/atlassian/jira]
/data/jira [[설치프로그램 경로]]
Default location for JIRA Service Desk data
[/home/atlassian/application-data/jira]
/data/jira-home [[설치프로그램 데이터경로]]
Configure which ports JIRA Service Desk will use.
JIRA requires two TCP ports that are not being used by any other
applications on this machine. The HTTP port is where you will access JIRA
through your browser. The Control port is used to startup and shutdown JIRA.
Use default ports (HTTP: 8080, Control: 8005) - Recommended [1, Enter], Set custom value for HTTP and Control ports [2] [[엔터]] 나중에 포트 변경 가능
Details on where JIRA Service Desk will be installed and the settings that will be used.
Installation Directory: /data/jira
Home Directory: /data/jira-home
HTTP Port: 8080
RMI Port: 8005
Install as service: No
Install [i, Enter], Exit [e] [[엔터]]
Extracting files ...
Please wait a few moments while JIRA Service Desk is configured.
Installation of JIRA Service Desk 4.2.2 is complete
Start JIRA Service Desk 4.2.2 now?
Yes [y, Enter], No [n] [[엔터]]
Please wait a few moments while JIRA Service Desk starts up.
Launching JIRA Service Desk ...
정상적으로 설치가 됐다면 java 가 구동중일것이다
# ps -ef | grep java 확인 해보고 구동 되고 있으면
방화벽
# firewall-cmd --permanent --zone=public --add-port=8080/tcp
# firewall-cmd --reload
http://localhost:8080

정상적으로 설치가 됐다면 위와 같이 화면이 뜬다. 안뜬다면 로그 확인 해보자
# 프로그램설치경로/logs/catalina.out

위에 생성한 mysql db 대로 입력

혹시 위와 같이 에러 메세지가 뜬다면 connector 가 없어서 그렇다
이 파일을 다운 받아서
프로그램 설치 경로 /lib/ 에 복사

문제 없으면 test connection 눌러 보면 패스 가 뜬다.

다일
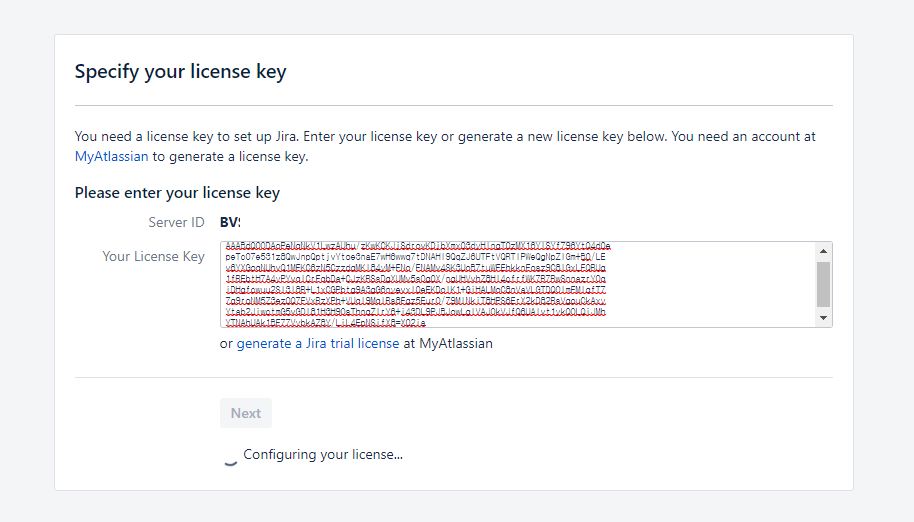
30일 무료 키를 받을 수 있다.

admin 계정 정보 입ㄷ

이메일 셋팅

언어 선택 하면 모든 설치가 끝난다.
## 포트 변경 ##
포트 변경 하고 싶다면
프로그램 설치 경로/conf/server.xml
<Connector port="8080" 항목을 포트 변경 하면 된다.


