프로메테우스(Prometheus) 설치 rocky 8.9 환경

환경에서 작업을 했다.
우선 계정을 만들고
# useradd -m -s /bin/false prometheus
구성 데이터 폴더 만들고
# mkdir /data/prometheus
권한 설정
# chown prometheus /data/prometheus/
이제 설치 파일 다운
https://github.com/prometheus/prometheus
# wget https://github.com/prometheus/prometheus/releases/download/v2.48.1/prometheus-2.48.1.linux-amd64.tar.gz -P /tmp

# cd /tmp/

tmp 가서 압축 풀고
# tar -xvf prometheus-2.48.1.linux-amd64.tar.gz
압축푼 디렉토리로 이동을 하고
# cd prometheus-2.48.1.linux-amd64/
# cp prometheus /usr/local/bin/
# cp promtool /usr/local/bin/
바이너리 파일 /usr/local/bin 으로 복사
# cd ..
# mv prometheus-2.48.1.linux-amd64 /etc/prometheus
압축푼 폴더를 etc/prometheus 로 이동
# firewall-cmd --add-port=9090/tcp --permanent
# firewall-cmd --reload
방화벽 9090 오픈(기본9090포트임)
# vi /etc/systemd/system/prometheus.service
서비스 등록
[Unit]
Description=Prometheus Time Series Collection and Processing Server
Wants=network-online.target
After=network-online.target
[Service]
User=prometheus
Group=prometheus
Type=simple
ExecStart=/usr/local/bin/prometheus \
--config.file /etc/prometheus/prometheus.yml \
--storage.tsdb.path /data/prometheus/ \
--web.console.templates=/etc/prometheus/consoles \
--web.console.libraries=/etc/prometheus/console_libraries
[Install]
WantedBy=multi-user.target
prometheus.service 에 위 내용복사
# systemctl daemon-reload
데몬 reload 하고
# systemctl start prometheus
서비스 시작
# systemctl enable prometheus
서비스 재부팅시 구동 설정
# systemctl status prometheus

구동 확인하면 active 상태가 failed 면 실패 한거고 active 면 정상 작동 되는것이다.
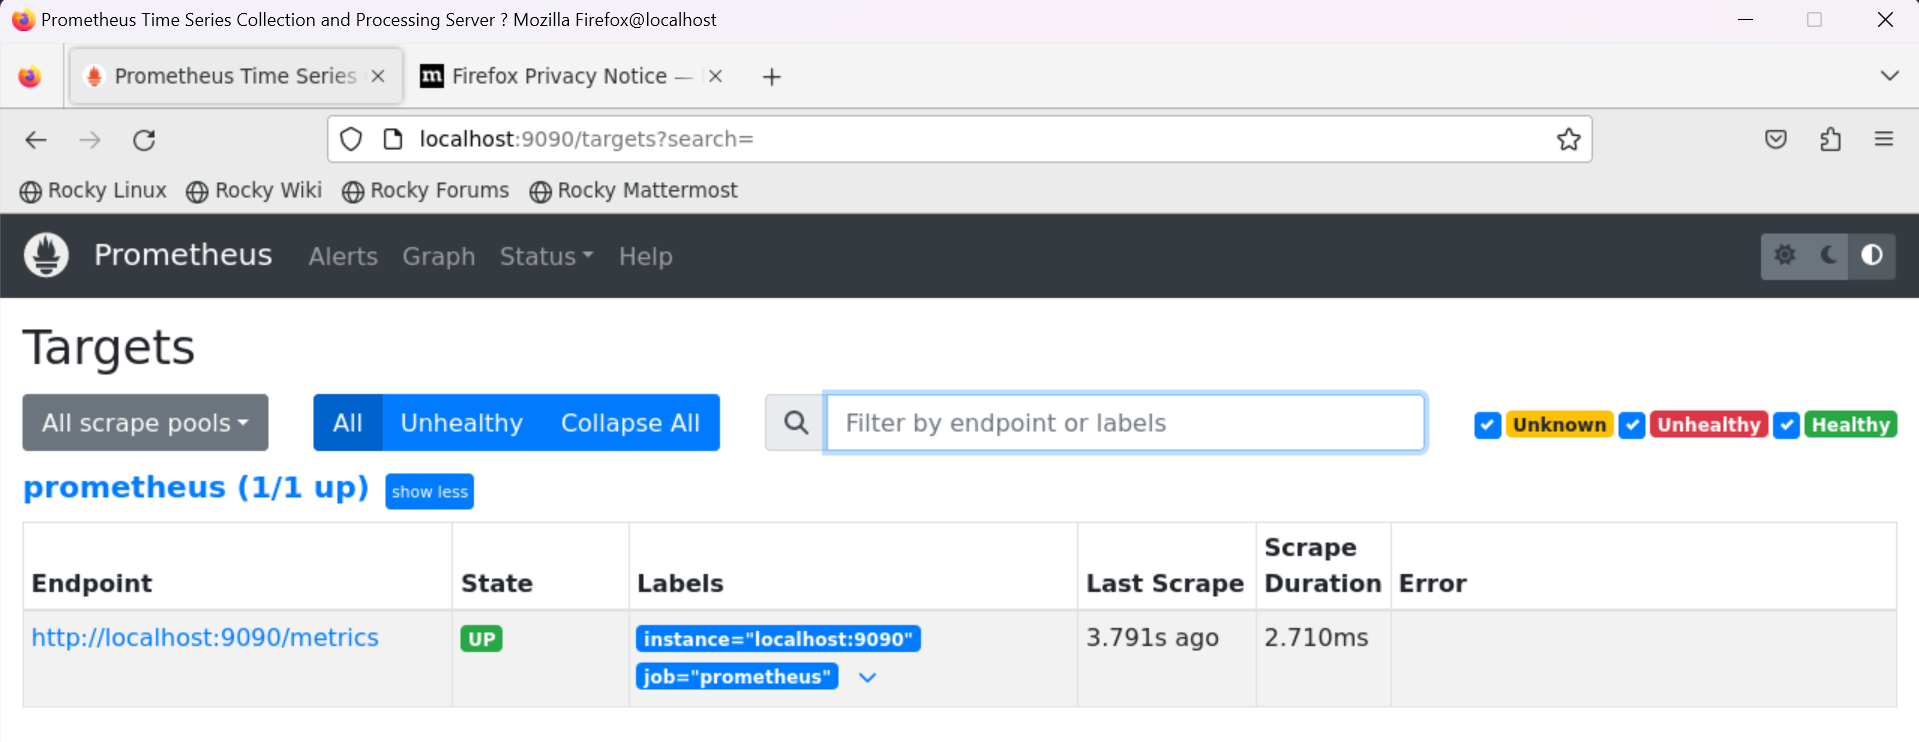
firefox 열어서
http://localhost:9090

정상적으로 프로메테우스 구동 되는것을 확인 할 수 있다.

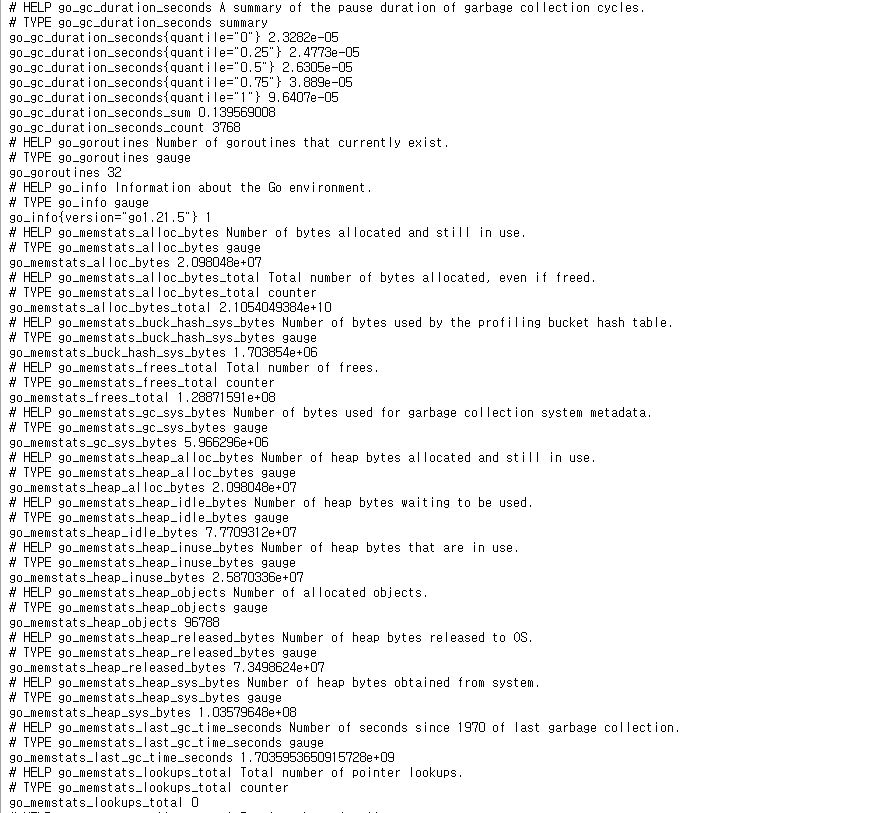
클릭하면 메트릭스 값이 정상적으로 나오는것을 확인 할 수 있다.
포트 변경방법은
# vi /etc/systemd/system/prometheus.service
--web.listen-address=0.0.0.0:9090 \
추가 해주면 된다.