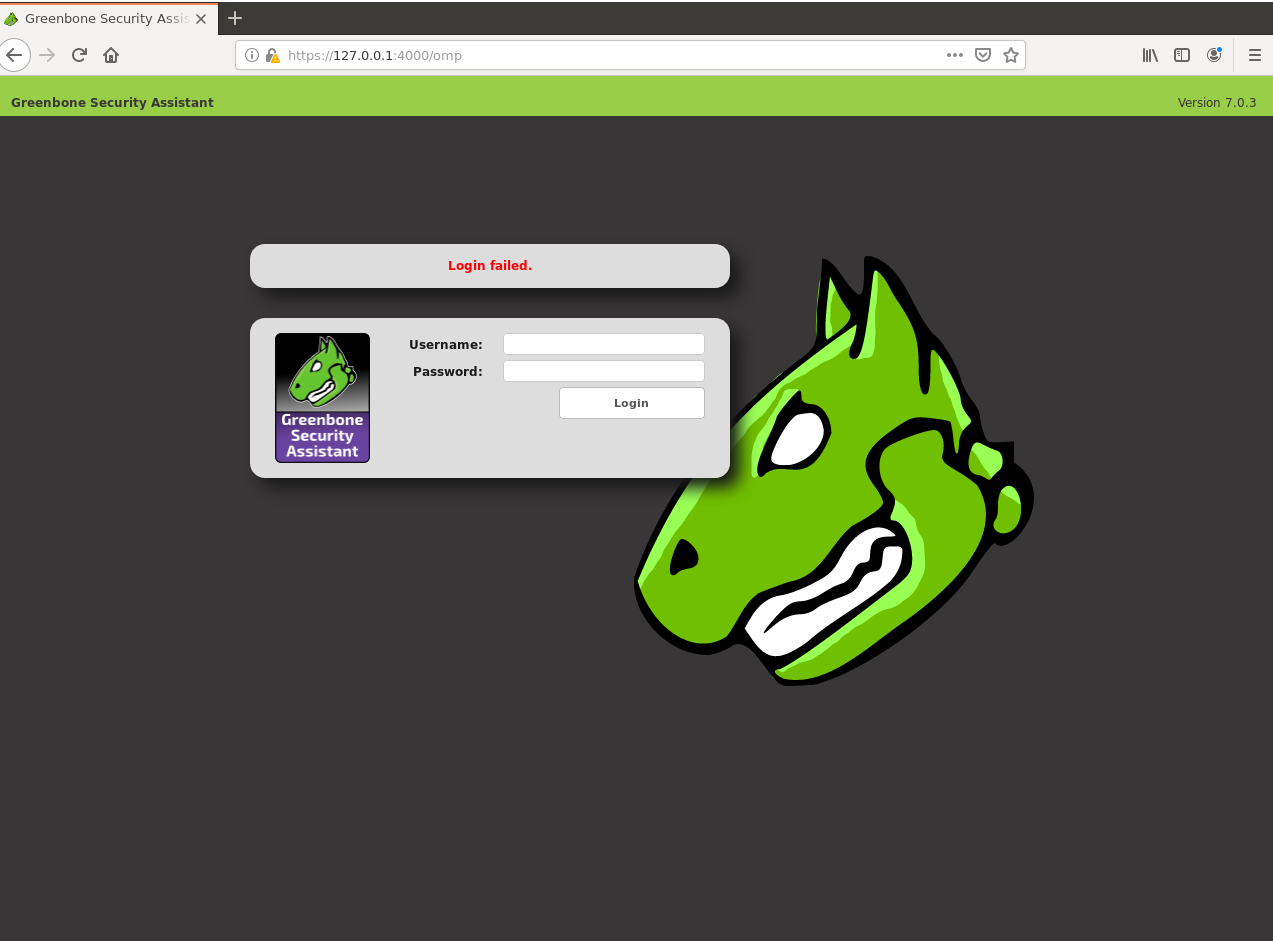
ubuntu 16.4 기준으로 설치
# apt-get update -y
# apt-get upgrade -y
# reboot
재부팅
db 설치
# apt-get install sqlite3
repo 추가
#add-apt-repository ppa:mrazavi/openvas
# apt-get update
# apt-get install openvas
뭐라 뭐라 뜨면 yes
service 시작
# systemctl start openvas-scanner
# systemctl start openvas-manager
# systemctl start openvas-gsa
# systemctl enable openvas-scanner
# systemctl enable openvas-manager
# systemctl enable openvas-gsa
방화벽
# ufw allow https
접속
https://127.0.0.1:4000


설치 끝~
암호 변경
# openvasmd –-user=admin –-new-password=password
신규유저등록
# openvasmd --create-user test
User created with password 'da86bb9d-6470-40a2-b2e3-82e124123'.
신규 유저 생성시 암호는 바로 생성된다
DB 업데이트
greenbone-nvt-sync
greenbone-scapdata-sync
greenbone-certdata-sync
스크립트 짜서 구동 시키면 된다.
https://gist.github.com/droberson/77b030cdefb731f6ab1b88a453e5ca47
참고
'Linux' 카테고리의 다른 글
| ssh 무인증 에러 발생시. (0) | 2019.11.11 |
|---|---|
| centos latex install (0) | 2019.10.04 |
| nomachine + otp (0) | 2019.09.11 |
| FAILED with error NT_STATUS_WRONG_PASSWORD, authoritative=1 (0) | 2019.09.10 |
| google-authenticator ssh otp 적용[google otp] (0) | 2019.09.05 |